
You Cannot Connect to the Remote Computer
This common problem can occur for a number of reasons.
First, check your network settings – are both computers actually connected to the Internet? It’s always the easiest ones that sneak under the radar! If they are, we’ll move on. The Remote Desktop connection requires either an IP address or a name for the console you’re attempting to view.
Ensure you have the correct IP address for the computer you are trying to connect to using whatsmyip.com – you’ll have to run it on the other device, or ask someone at the location to do this for you. Similarly, to find out the computer name of the remote device, you’ll need to select Start Menu > Control Panel > System, and view your computer name and workgroup.
Remote Connections Not Allowed
Remote connections might not be enabled on the terminal you’re trying to reach. On the same System page as above, we can alter this setting by selecting Change Settings, over on the right. This brings up the System Properties. Select the Remote tab and look at your options.
Check “Allow Remote Assistance connections to this computer,” if not already selected. Beneath this, you’ll have Remote Desktop options. If the “Don’t allow connections to this computer” option is selected, you’re gonna have a bad time. You now have two options:
Allow connections from computers running any version of Remote Desktop, and
Allow connections only from computers running Remote Desktop with Network Level Authentication.
If both computers are running an operating system newer than (but also including) Windows 7, you can select option 2. Anything older than Windows 7 will require the first option. The first option can also be used if you’re unsure of the operating system version you’ll be connecting from.
Network Level Authentication “an authentication method that completes user authentication before you establish a full Remote Desktop connection and the logon screen appears,” providing an additional layer of security from malicious software whilst using fewer resources throughout the lifetime of the connection.
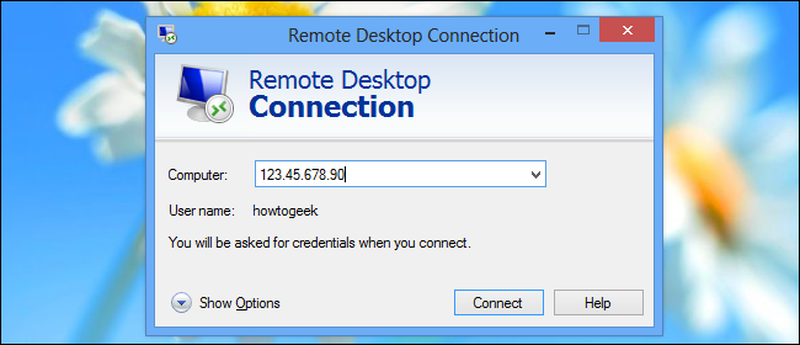
ProTip: You can check if your version of Remote Desktop supports Network Level Authentication by clicking top left of the dialogue box, as seen below, and selecting About.
You Cannot Copy Text from the Remote Computer
You can use the Remote Desktop connection to copy text from one terminal to your own. If this feature doesn’t work, you’ll need to ensure the Clipboard has been redirected so you can use it on the remote computer.
Open the Remote Desktop Connection dialogue box, then select Options. Select the Local devices and resources tab. You should see options for the Clipboard and Printers – ensure the Clipboard option is selected. It should be turned on by default.
You’re good to go!
The Remote Window Isn’t the Correct Size
Many Remote Desktop users encounter issues with the size of the Remote Desktop viewing window. It either resizes too large, too small, or doesn’t correlate to the settings you’ve input.
You can force Remote Desktop to use a pre-selected size using the Run function. Instead of opening Remote Desktop via the Start menu, select Run [press Windows key + R]. Open
mstsc.exe /h:X /w:X
Where “X” is the required size for height and width of the remote viewing window. Remote Desktop should remember your settings for future remote viewing sessions.
Remote Desktop features a handy sliding bar scrolling from 640×480 up to your full screen setting. Adjusting the slider modifies your remote desktop accordingly. As Remote Desktop remembers the resolution of the connection, make sure to readjust the slider to full screen to ensure your next connection functions to the correct resolution.
Save Custom Connection Settings
If you regularly connect to a number of different servers, you could save time by setting a custom configuration for Remote Desktop. You can set optimum width, height, and colour settings for each server/terminal you connect with.
Open Remote Desktop, and expand the options. You’ll see dialogue boxes for Connection Settings. Select Save As and specify your preferred save location. Then click Save. This creates a custom desktop connection file (.RPD).
Browse to the location you saved the .RDP file. We can now edit this file using a text editor. I use Notepad++ (our Notepad++ review), but you can use whatever you are comfortable with. You’ll need to add this string to the end of the file:
smart sizing:i:1
Now to check the screen settings on lines two and three. Edit the desktopwidth and desktopheight to the optimum size for your requirements. Save the file. You can now open Remote Desktop via this file, or it can be selected within the Remote Desktop dialogue box. I would recommend the former.
Some Handy Shortcuts
“The keyboard shortcut maketh the remote desktop user.” – Abraham Lincoln
Boost your productivity with a handful of keyboard shortcuts. These are designed for use when accessing Remote Desktop via Run:
mstsc /f: Start Remote Desktop in Full-Screen Mode.
mstsc /admin: Start Remote Desktop in Admin Mode.
mstsc /span: Matches your Remote Desktop session with the local virtual desktop.
mstsc /multimon: Matches your Remote Desktop session to the Client Layout.
mstsc /edit “connection file”: Opens the .RDP file for editing – change “connection file” to your file name before running the command.
View All Comments /Add Comment