1
Install the MP Navigator EX software located on the disc that came with the printer. If you don’t have the disc, you can obtain the software on the Canon website.
2
Select “Start” > “Programs” > “Canon Utilities” > “MP Navigator EX” > “MP Navigator EX“.
3
Select “Photos/Documents“.
4
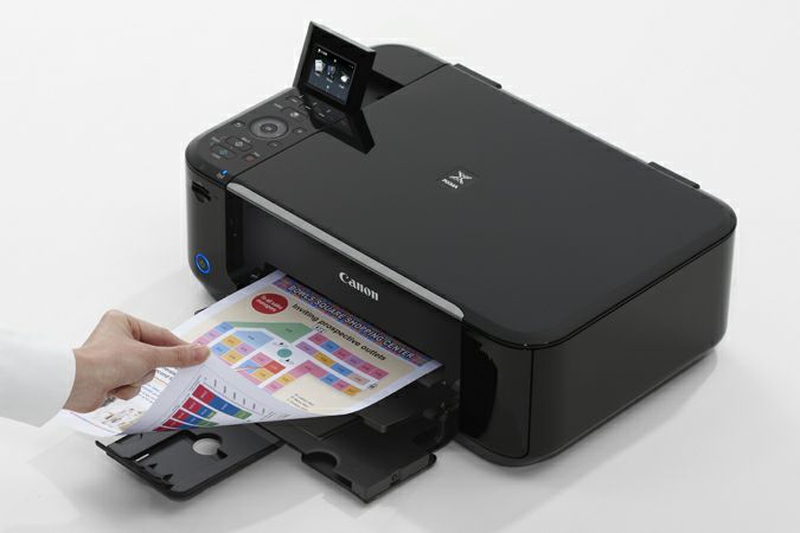
Open the top of the scanner and place the document you wish to scan on the glass.
5
Set preferences on the screen as needed. Select the “Scan” button when ready.
6
The Pixma 5220 should start the scanning process. When it’s finished, select “Save” to save the document(s) as a JPEG, or select “Save as PDF” to save it in PDF format.
ANY IDEAS ABOUT THIS TOPIC?


View All Comments /Add Comment