

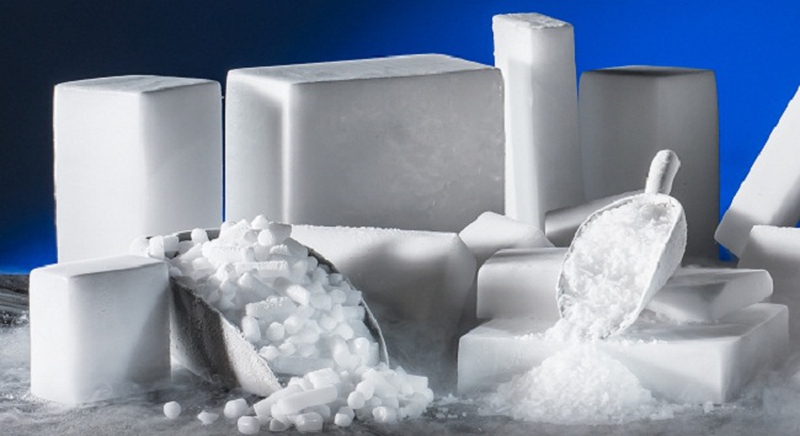
A lot of you may already know that dry ice is just carbon dioxide that has been dropped to such a low temperature that it solidifies. What you may not know is that you can actually make it at home! Sure, you can’t mass produce dry ice, but you can certainly make enough to use for home science experiments or parties. So, how to make dry ice? Simple!
What Do You Need When Making Dry Ice?
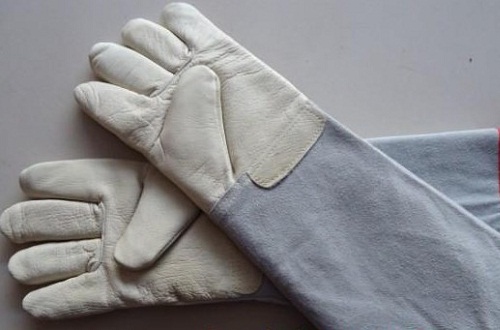
Gloves
To start with, get yourself some heavy duty gloves; you’ll need something stronger and thicker than dishwashing gloves to keep your hands protected.
A Cloth Bag
You’ll also need a cloth bag to catch the dry ice you produce, ideally a pillow case or something similarly sized.
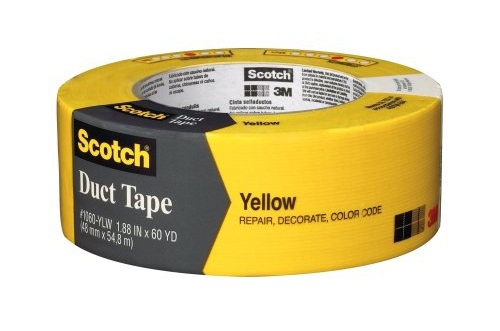
Tape
It will be easier if you have some industrial duct tape, although it is possible to make dry ice without this.
Carbon Dioxide / CO2
The key ingredient for this project is a carbon dioxide tank or a CO2 fire extinguisher. If using an extinguisher, you need to make sure that it is a carbon dioxide fire extinguisher, as a standard extinguisher, the type you’d typically use at home, will not work for this project. To verify if it is indeed a CO2 model, check to see if it has a discharge horn or pressure gauge (the CO2 models generally won’t have these) and review the servicing label (it should have a hole punched in it if it’s a CO2).

How to Make Dry Ice at Home
Step 1: Start the process by getting your work space ready – you want a clear area and all your materials assembled. There’s no need to wear a heavy duty protective suit, but it’s a good idea to put on long sleeves in case of splash back. However, it is vital that you do put on your heavy duty gloves, as dry ice is cold enough to cause frostbite if it touches your skin.
Step 2: Once you’re ready, put the nozzle of the tank inside your cloth bag and wrap the material securely around the spout. If you’ve got duct tape, use it to secure the cloth bag to the extinguisher, so you don’t have to worry about the pressure of the extinguisher blowing the bag off.
Step 3: Start releasing the contents of the canister into the cloth bag. If it’s a CO2 canister, you’ll need to open the valve; or if using the fire extinguisher, then discharge. You may have some vapors that escape from the bag, but this is normal, so don’t worry. It may not look like much is being produced, but the bag will slowly start to inflate.
Step 4: Make sure you turn off the valve, and then shake the bag to get rid of any dry ice that may be clinging to the nozzle. When you look inside, you’ll see what looks like little chunks of polystyrene – that’s your dry ice! Be careful with the bag, so you don’t spill any, and don’t try and hold any of the larger chunks, which can cause freeze burns.
Step 5: To make the dry ice last longer, you’ll need to store it in the freezer. You can transfer the ice from the bag into a bowl or jar first, but don’t seal the jar as pressure will continue to build and could explode the jar. If you leave your dry ice out of the freezer for too long, then it will start to revert back to a gas, so try your best to keep it cold.
Tada! You have made your own dry ice! What? Didn't work out? Well, don't be upset! Perhaps you can make a success by following the steps in this video. Check out!
What to Do with Dry Ice
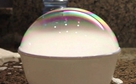
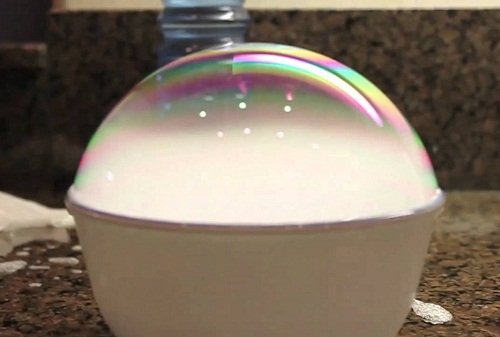
DIY Ice Crystal Ball
Want to make your own mystic crystal ball? Put some bubble mix into a bowl and then drop in a small piece of the dry ice. Dip a towel into more of the bubble mix and then drape the towel around the lip of the bowl. As the dry ice reverts back to carbon dioxide, it will form a big crystal ball bubble.
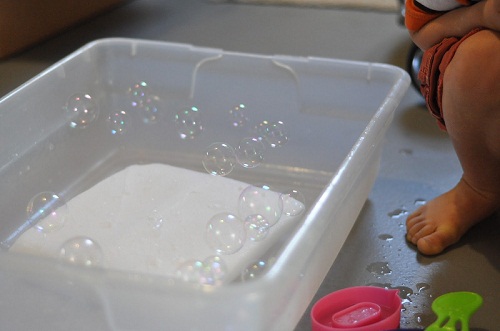
Make Your Own Fog
When dry ice reverts back to gas, it creates a wispy fog that is the perfect illusion to accompany any magic trick, party or school science experiment. The easiest way to create this effect is to drop a chunk of dry ice into a container of hot water. The more water and the more dry ice you use, the more impressive the result will be!

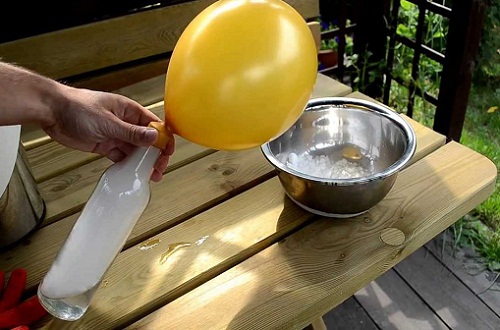
Self-Inflation
Did you know that you can inflate a balloon using dry ice? Drop a little piece of dry ice into a balloon and tie up the end, sealing the gases inside. As the dry ice reverts back to vapor, it will expand and inflate the balloon. Just don’t use too much dry ice!
- Dry ice forms at around 173 degrees Fahrenheit; that’s really cold! If you touch it, it will freeze your skin, potentially causing frostbite (think amputated fingers). So keep your heavy duty gloves on the whole time you are dealing with dry ice.
- After you have learnt how to make dry ice, you may want to use dry ice to quickly cool drinks. This is recommended but you have to be very careful to make sure you do not get any of the dry ice in your mouth.
- When dry ice starts to defrost, it reverts (or sublimates) back into its original gas form. If you store dry ice in a sealed container, the pressure of the gas will expand until the container explodes.
- If you splash some water onto a chunk of dry ice, it will create a spooky hissing noise accompanied by little clouds of fog. This is not at all dangerous and is an effective trick for use at a Halloween party.
View All Comments /Add Comment